Designing For Iteration
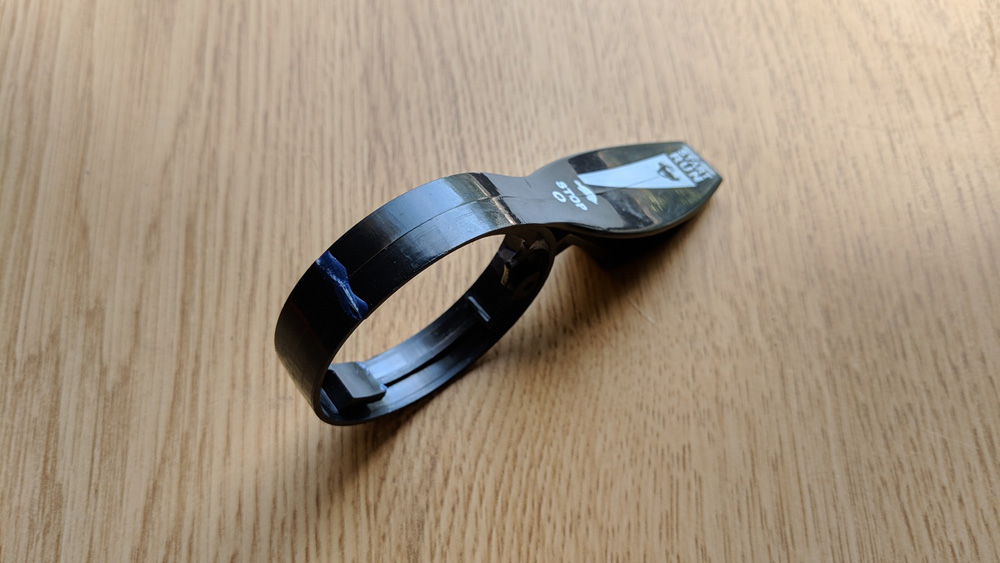
I borrowed a lawn mower from a friend recently and whilst using it I snapped the plastic throttle control lever. Finding a replacement throttle for a lawn mower close to a decade old would be a challenge, and undoubtedly expensive too. Thankfully this presented another great opportunity to use my hobbyist 3D printer to replace the part. Knowing that it would take several iterations to get a part that would fit and function correctly from my physical measurements, I instead chose to embrace the iterative process, deliberatly designing for iteration from the begining.
Pictured: Original throttle glued back together.
Thinking Differently About Design
Rather than painstakingly measure every feature and detail of the part I needed to replace, I quickly measured critical features and overall dimensions. I then designed and iterated parts to validate my measurements. Modelling only critical features with iteration in mind, unnecessary part geometry was minimised ensuring both design and print times were kept short.
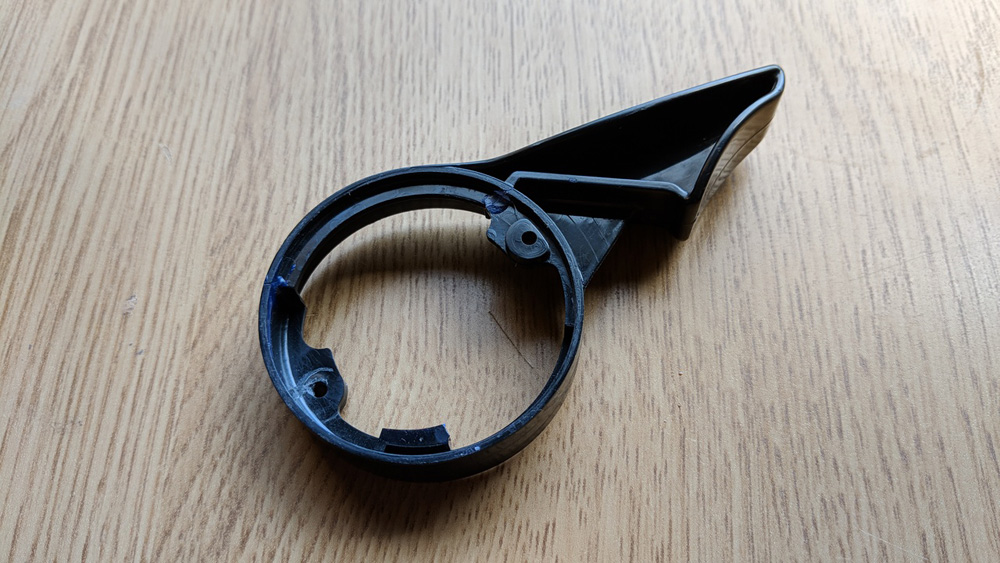
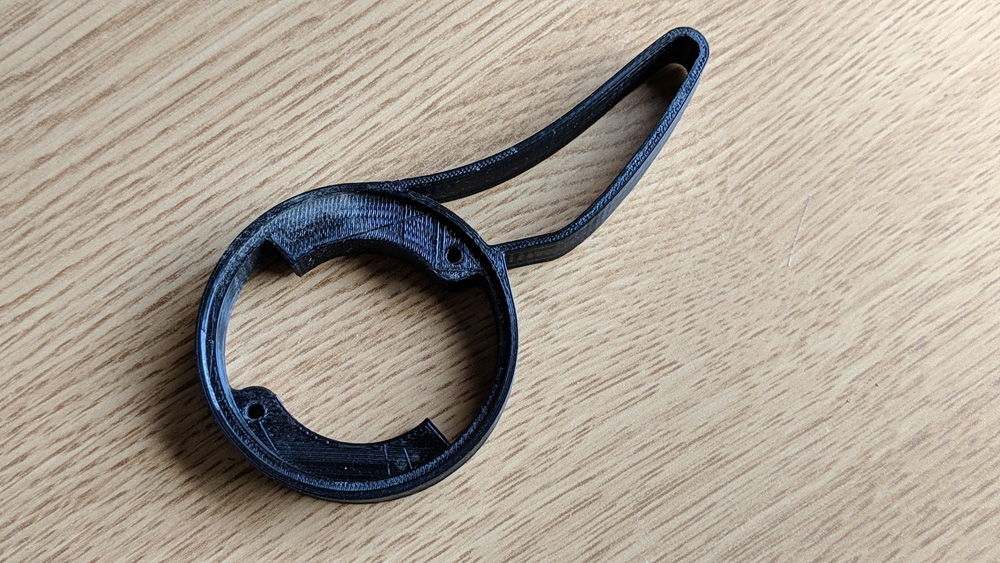
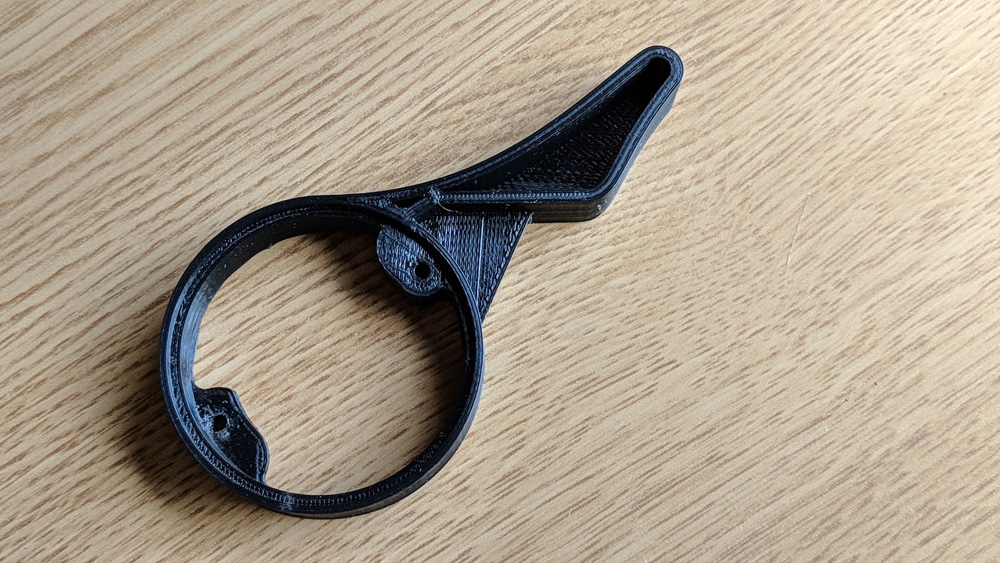
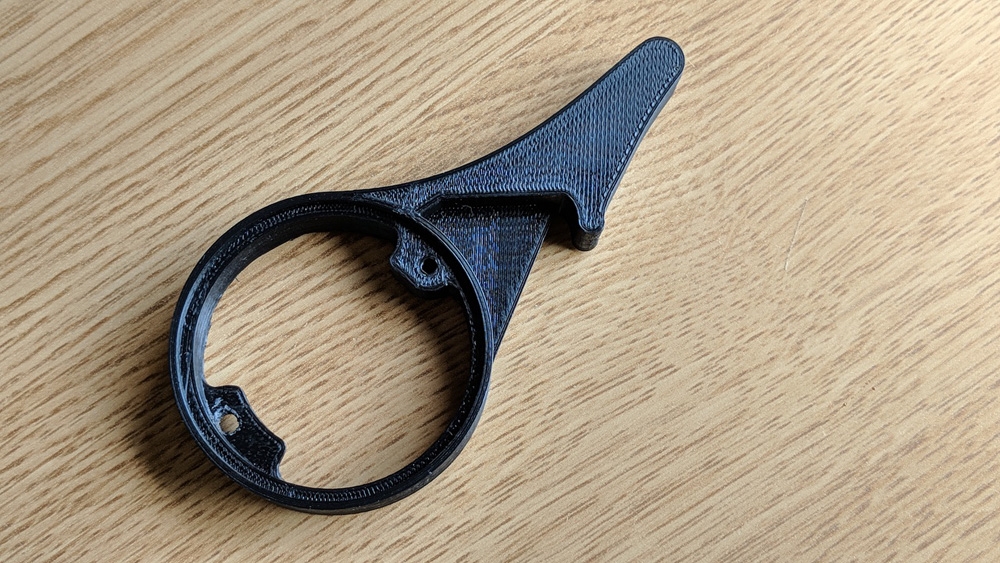
I printed 6 iterations making small adjustments each time until the design was perfected. For the final design, additional geometry was added to increase robustness. Some of the milestone iterations are pictured below in chronological order.
Final Design
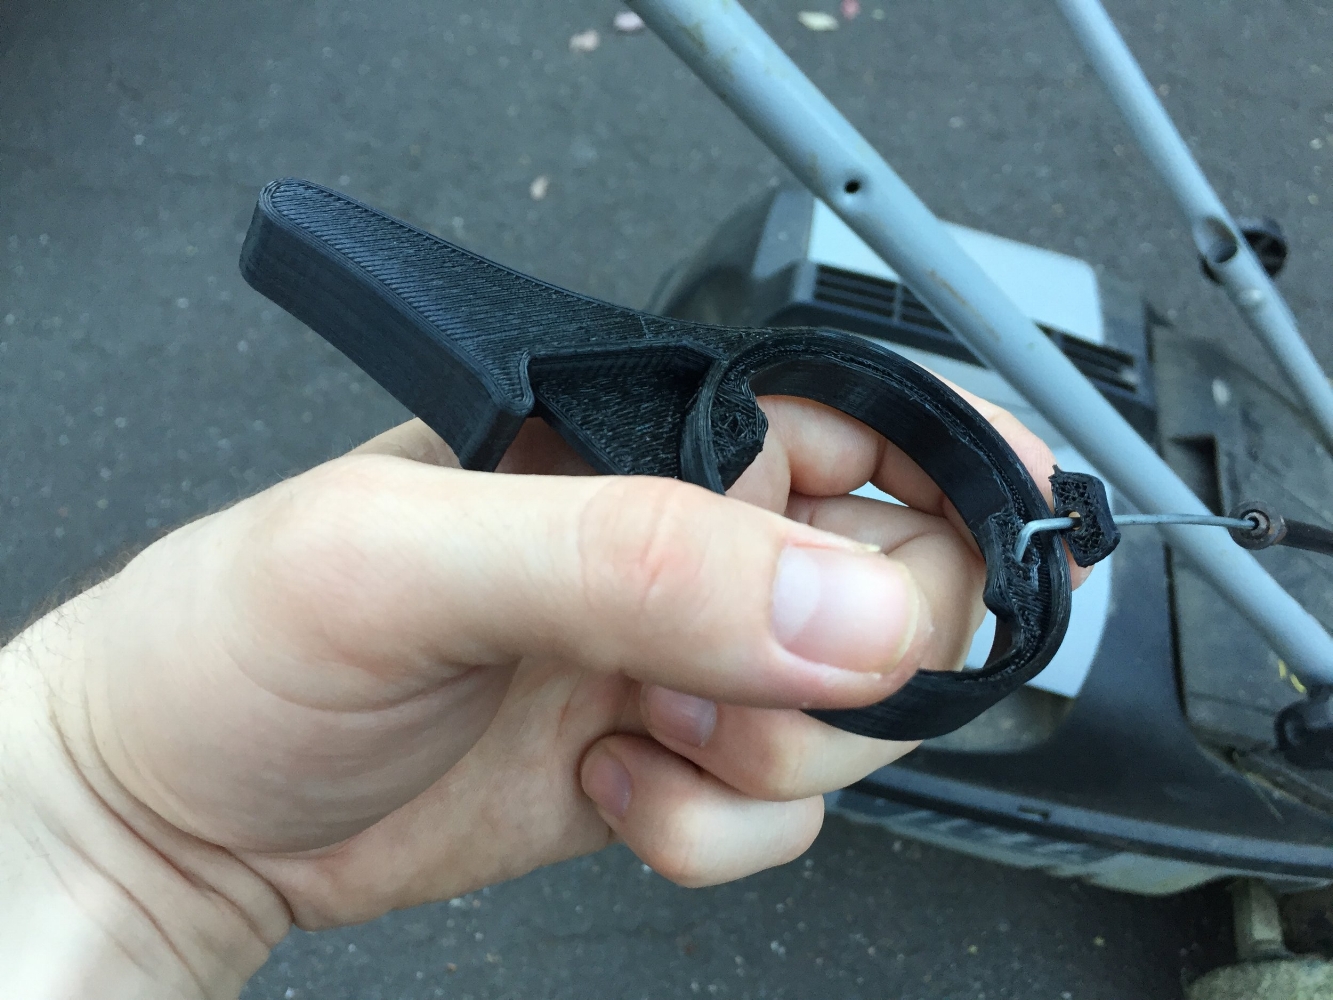
The final design pictured above is fitted to one half of the throttle body demonstrating how the part not only fits the throttle body but succsessfully moves the throttle cable.
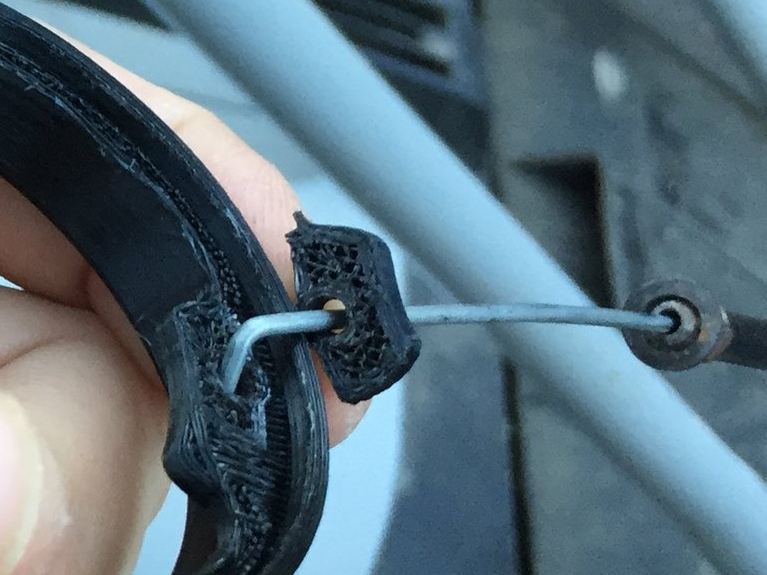
In the process of documenting the fitment, part of the throttle mount actually broke off. This was a legacy from previous iterations where i'd neglected to increase the part infil, making the small tab more susceptible to detach on the print layer plane.
The infill lattice is visible where the tab has come off. Iinfill must be increased to 100% to maximise strength. Going through the testing phase is further evidence of the benefits of iterative design.
Is It Economically Feasible To Print A Replacement?
Ultimately the answer to this kind of question is highly subjective - you have to decide whether your time is worth it. For me, this is a hobby and something I enjoy, so i'm happy to dedicate the time. With the experience gained from continued practice, this process also become increasingly easier which is something worth considering.
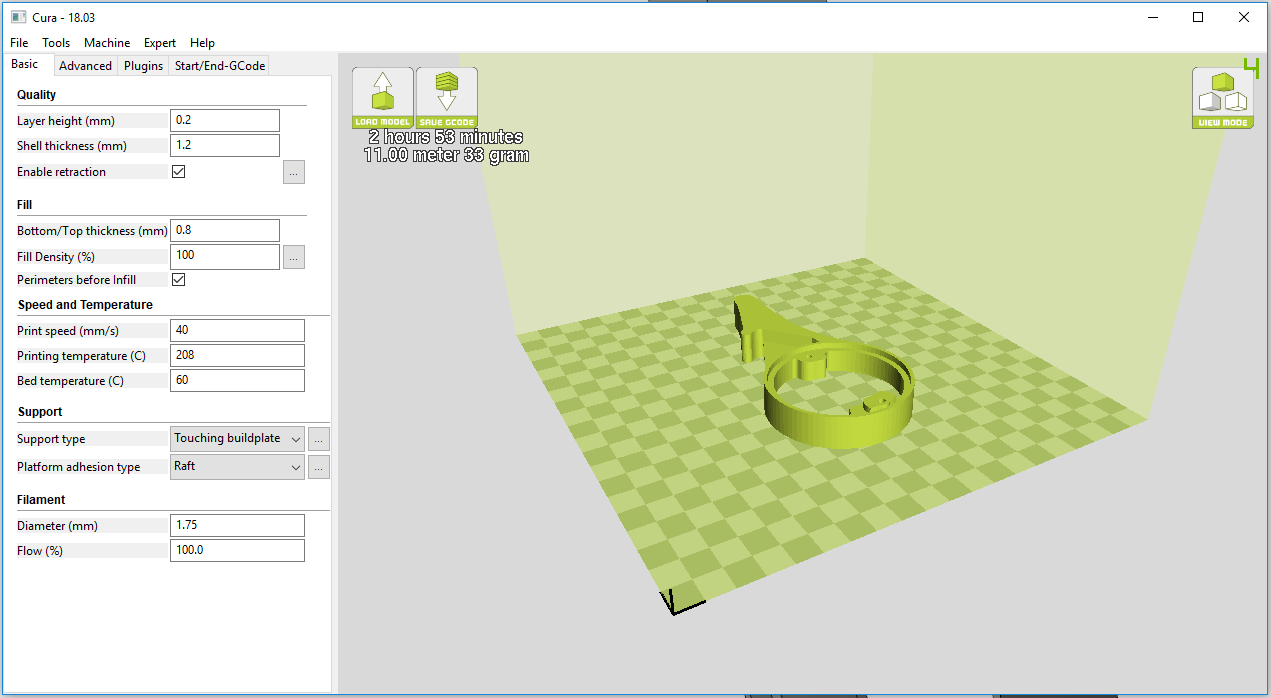
Based on the final part print settings below, I am able to calculate the material cost of this exercise.
Final part print settings in Cura.
1. Material cost
33g of material
$30/kg material cost (PLA)
$0.99 per part
Total material cost $5.94
2. Power cost
$0.28 kWh in Victoria
150 W power usage
3 hr print time
1.62 MJ per print (1 kWh = 3.6 MJ)
$0.13 per print
Total power cost $0.76
3. Print consumables
Masking tape
Double sided tape
My estimates put this at $1 per print
Total consumables cost $6
4. Time
2 hrs initial design time
0.5 hr per iteration
Total design time 5 hours
Total Material Cost $12.70
Verdit: Worth It.
From a material cost standpoint, i've definitely saved myself money. I've now got the part as a permanent reference if I ever need to replace the throttle again. I can even share the model online for others that may need it.
As 3D printing becomes more accessible and there is increased awareness of it's capabilities, printing replacement, customised, and improved parts will become more commonplace. There are already communities now sharing exactly this kind of work, but with increased saturation I expect these communities to bristle with replacements and upgrades. Manufacturers could even go as far as licensing part designs for replacement or upgrade, eliminating the need to keep stock. There are so many benefits and opportunities to be realised through this technologically enabled approach that I'll be dedicating a blog post to my vision of the future of making things soon.


